Hanging and fitting an internal door correctly is essential in ensuring smooth operation, a snug fit and long-term durability. Whether you're replacing an old interior door or installing a new one from scratch, knowing how to hang a door properly will make all the difference to the aesthetics and functionality of your home.
Although it can be a challenging task, with the right tools, careful measurements and a methodical approach, an experienced DIYer could achieve a professional finish. The key is preparation, accuracy and patience. However, if you have any doubts or are uncertain of your abilities, it’s always best to use the services of a professional carpenter - one wrong move and you could be looking at an expensive replacement before your door is even in place.
In this guide, Door Giant will take you through the process of hanging an internal door step-by-step, from choosing the right door to making precise adjustments for a perfect fit. Whether you’re working with a hollow core, solid wood or moulded panel door, the principles remain the same.
1. Gather The Right Tools & Materials
Before you begin, make sure you have the following tools and materials:
Having everything ready will make the process smoother and help you avoid unnecessary delays.
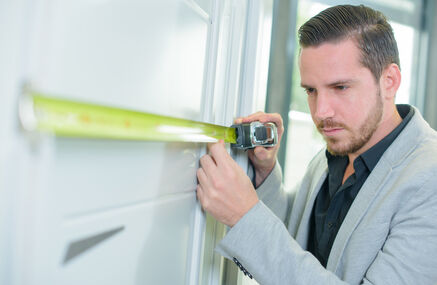
2. Measure & Prepare The Door
Internal doors typically come in standard sizes, but some adjustments may be necessary if your frame isn’t perfectly square.
Once you’ve sized the door correctly, position it within the frame to double-check the fit before proceeding.
3. Mark & Cut The Hinge Recesses
Correctly positioning the hinges is crucial for smooth door operation. Follow these steps:
Repeat the same process on the door frame, making sure the hinges match perfectly.
At this point, it’s also a good idea to measure and drill any holes required for fitting your handles and latch. Mark the correct height for the handle (usually 900mm from the floor) and drill the necessary holes.
4. Hang The Door & Check Alignment
Now it’s time to attach the door to the frame:
If necessary, make slight adjustments to the hinge positions to improve the fit.
5. Fit The Door Handles & Latch
With the door securely in place, the final step is to install the door handles and latch.
Hanging an internal door might seem like a daunting task, but with careful planning, patience and the right tools, it can be a rewarding DIY project. By following these steps you can achieve a professional finish that enhances both the functionality and appearance of your space.
Taking your time with each stage will ensure the door operates smoothly and lasts for years to come.